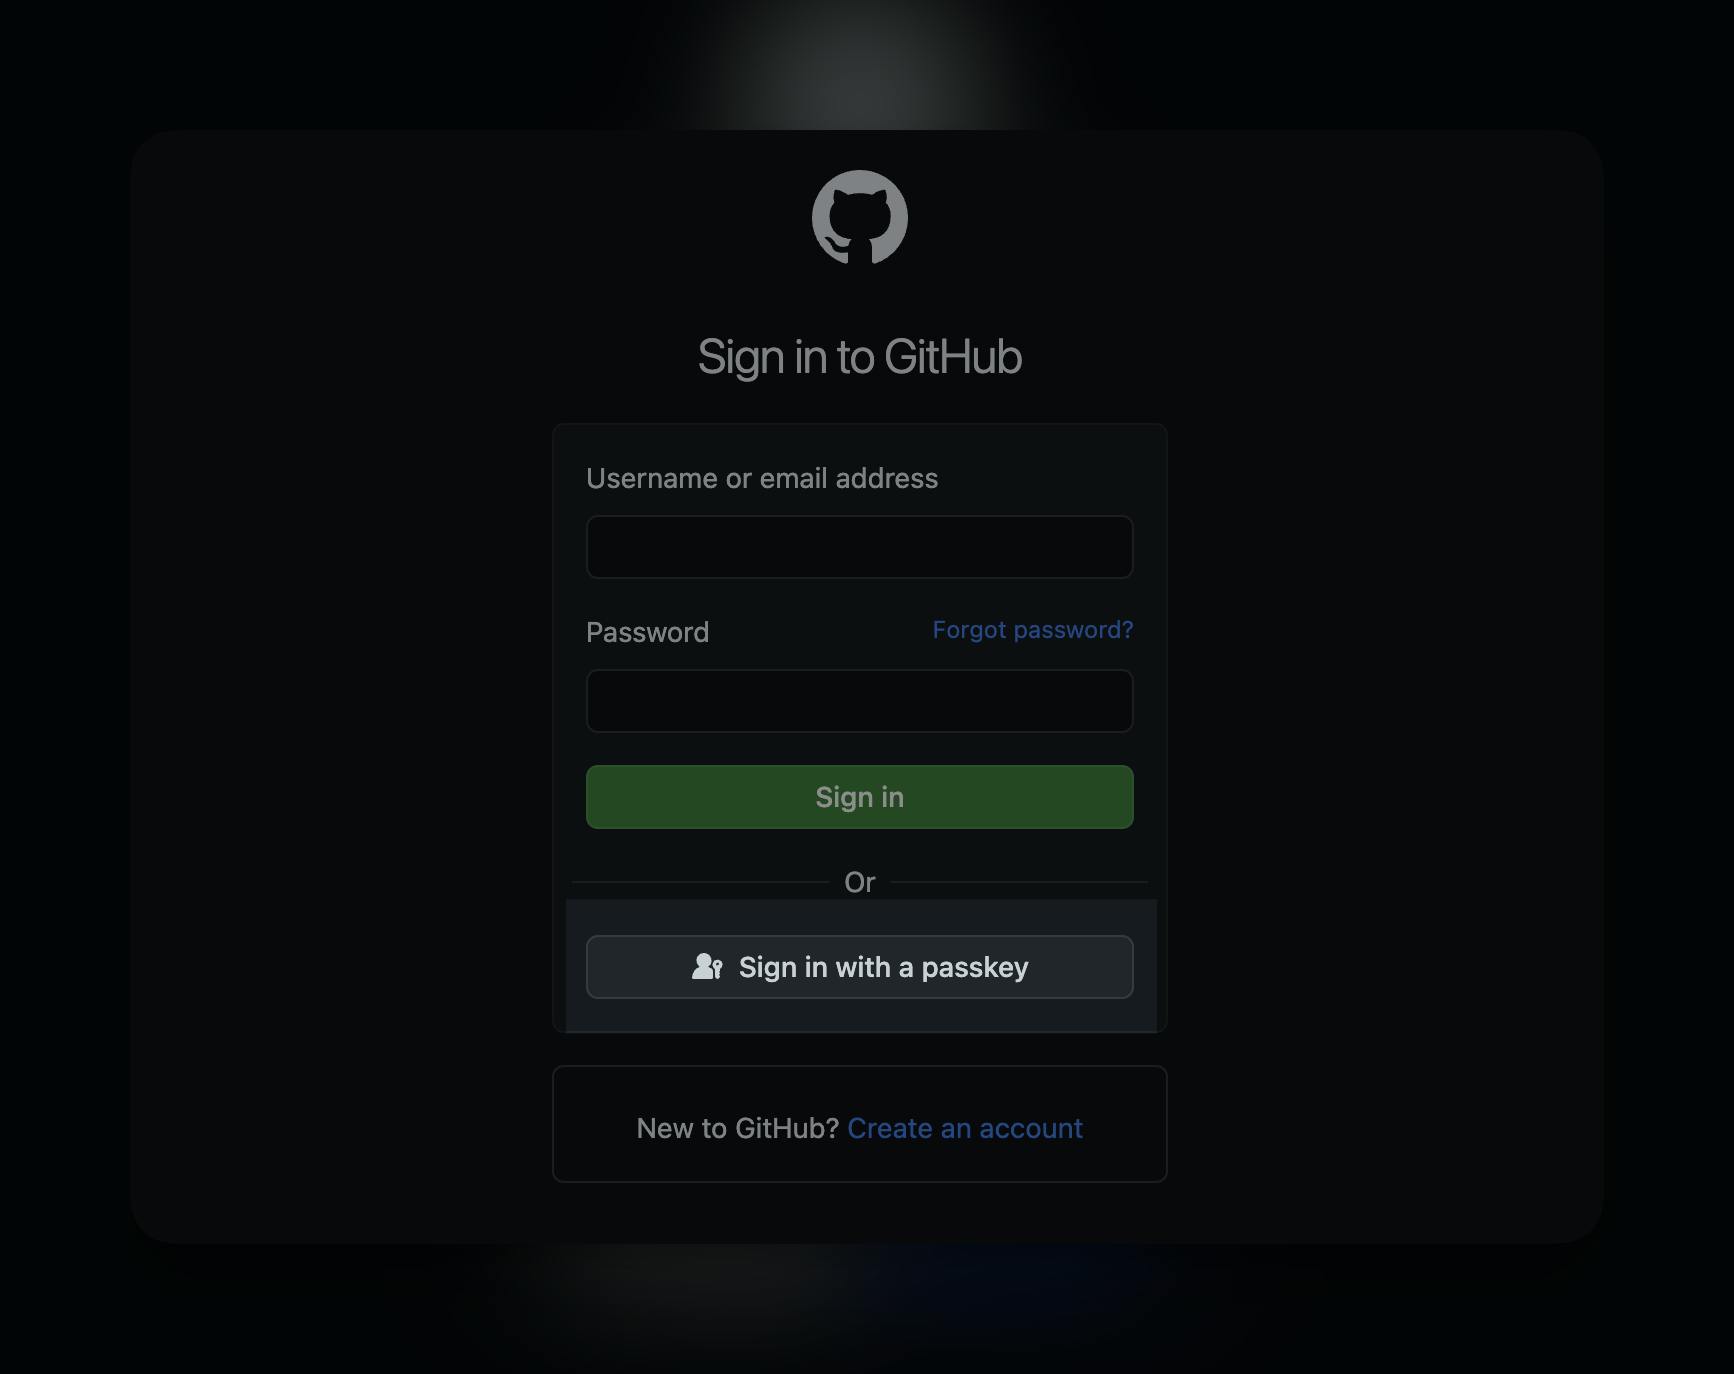
Passkey authentication is gaining popularity faster than ever before. You must have probably noticed a new 'Sign in with a Passkey' option when logging into places like Github or the Apple Store by now.

With Passkeys, your users can sign in without needing any passwords at all. Instead, it uses Touch ID or Face ID on their device to authenticate them, which makes it way more secure and easier to use than old-school passwords or even the two-factor authentication methods we're used to. On top of that, it provides a super smooth login experience too.
In this tutorial, we'll show you how you can add Passkey login for your users to your React Application using Hanko Passkey API. While we're using Express.js for our backend, the process will be pretty similar if you're working with any other JavaScript or TypeScript-based backend.
We've already built a basic auth and in this guide, we'll focus specifically on how you can add a Passkey login to your existing auth system. So, no reinventing the wheel here; instead, we'll show you how to integrate Passkeys seamlessly with your existing authentication flow. Check out our demo app repo here.
Let's get to building.
Get the API key and Tenant ID from Hanko
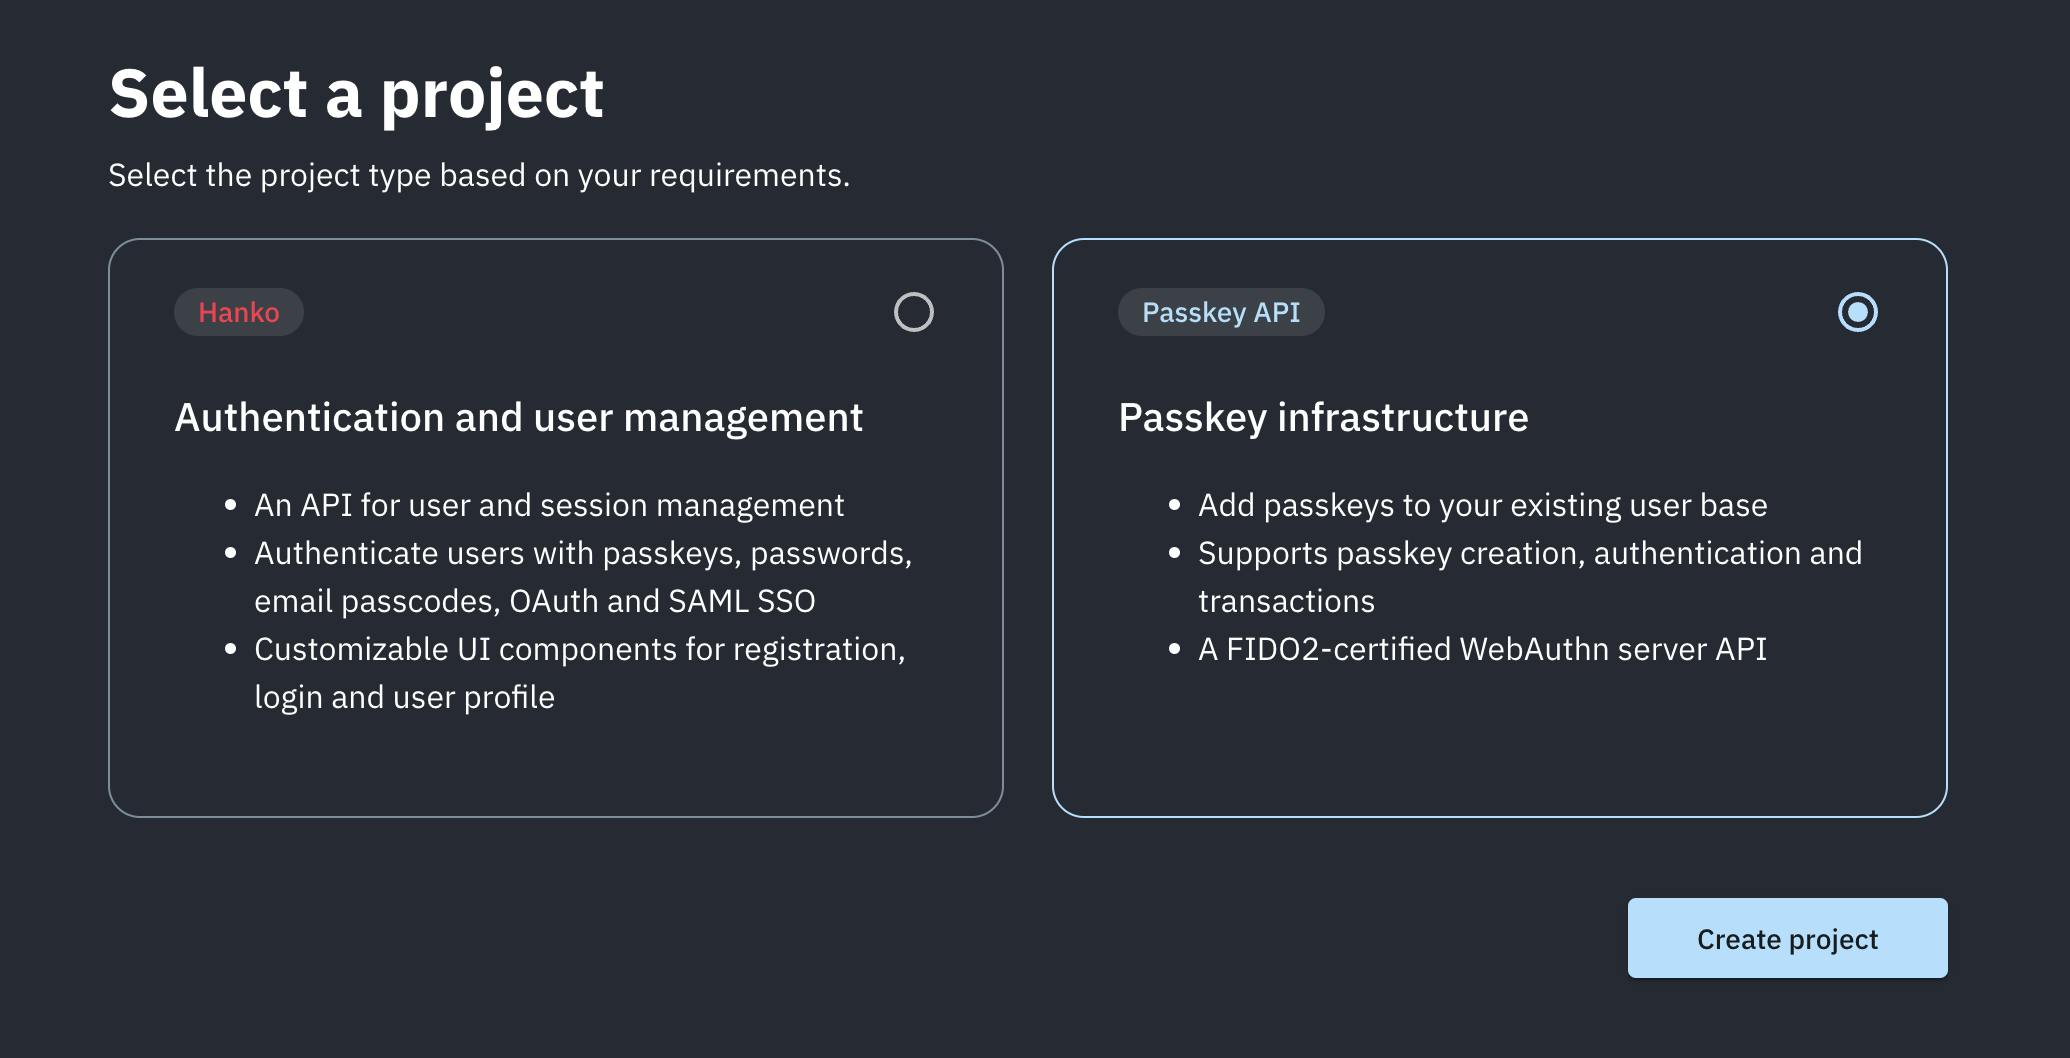
Before everything you'll need to get the credentials from Hanko Cloud. So, after creating your account on Hanko and setting up the organization, go ahead and click on 'Create new project,' and then choose 'Passkey infrastructure' and 'Create project'.

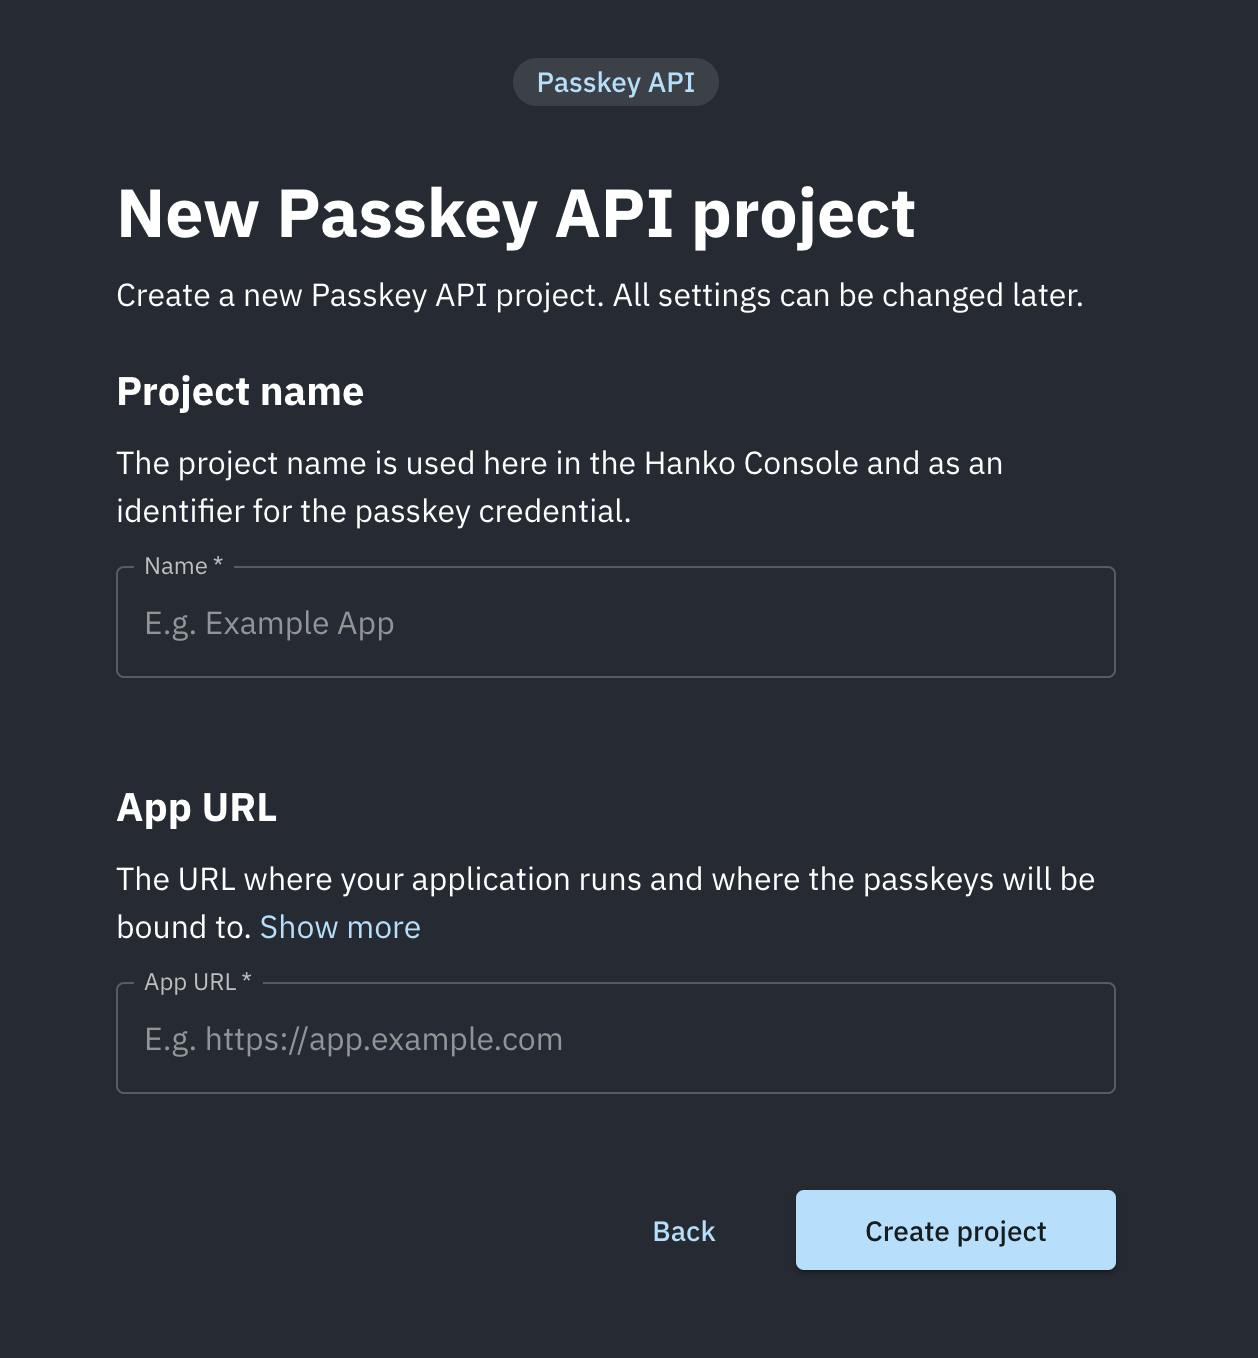
Enter your Project name and URL and click on 'Create project'.

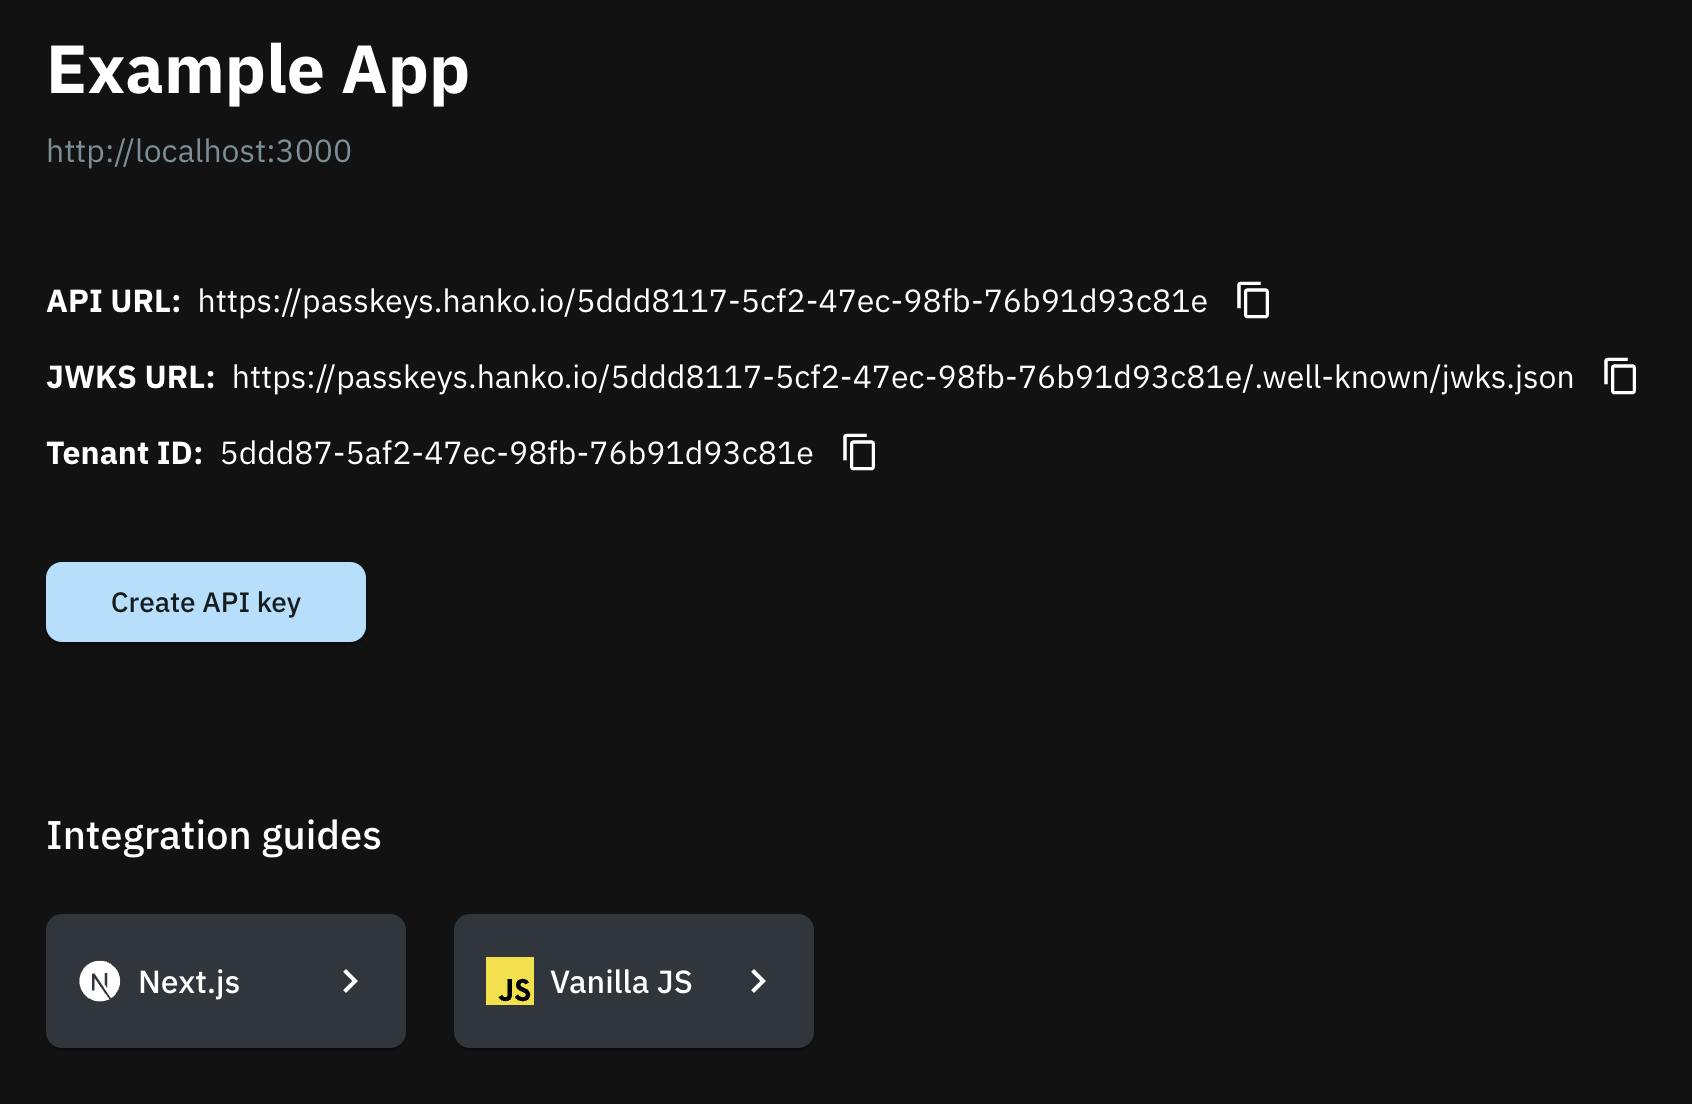
Copy the 'Tenant ID', then create an API key, copy the API key secret, and add it to your .env file.

After setting up your React app with an Express backend, you'll need to add environment variables copied above in the backend directory for the APIs we're going to make. The frontend will simply call the APIs to allow users to register and log in with passkeys.
PASSKEYS_API_KEY="your-passkey-api-secret"
NEXT_PUBLIC_PASSKEYS_TENANT_ID="your-tenant-id"
Install the Passkey SDK
Install the JavaScript SDK provided by Hanko and webauth-json package by GitHub. Note that, you need to install the SDK on the backend directory and webauthn-json package on the frontend directory.
npm add @teamhanko/passkeys-sdk @github/webauthn-json
Allow your users to register passkey
When it comes to passkey registration, you'll need to decide where and how your users can add passkeys to their accounts. It's entirely up to you. In our case, we've decided to provide a 'Register Passkey' button on the 'dashboard' page.
On your express backend, you’ll have to use tenant({ ... }).registration.initialize() and .registration.finalize() to create and store a passkey for your user. We'll create a /api/passkeys/register endpoint that will utilize these.
On your frontend, you’ll have to call create() from @github/webauthn-json with the object .registration.initialize() returned.
First, create two services startServerPasskeyRegistration() and finishServerPasskeyRegistration() in the /express-backend/services/passkey.js
In the startServerPasskeyRegistration() function we retrieve the user's information from a database and initiate the passkey registration process by calling the passkeyApi.registration.initialize() method with the user's ID and email. This function returns the options required for creating a new passkey on the client side. The finishServerPasskeyRegistration() function finalizes the registration process by sending the client-side credential to the passkey API.
These functions are then exported to be used in the express-backend/controllers/passkey.js .
import { tenant } from "@teamhanko/passkeys-sdk";
import dotenv from "dotenv";
import db from "../db.js";

dotenv.config();

const passkeyApi = tenant({
  apiKey: process.env.PASSKEYS_API_KEY,
  tenantId: process.env.PASSKEYS_TENANT_ID,
});

async function startServerPasskeyRegistration(userID) {
  const user = db.users.find((user) => user.id === userID);

  const createOptions = await passkeyApi.registration.initialize({
    userId: user.id,
    username: user.email || "",
  });

  return createOptions;
}

async function finishServerPasskeyRegistration(credential) {
  await passkeyApi.registration.finalize(credential);
}

export {
  startServerPasskeyRegistration,
  finishServerPasskeyRegistration,
};
Now we definehandlePasskeyRegister() controller that handles two stages of the passkey registration process: initiation and completion. The function utilizes the helper functions startServerPasskeyRegistration() and finishServerPasskeyRegistration() we created above.
import {
  startServerPasskeyRegistration,
  finishServerPasskeyRegistration,
} from "../service/passkey.js";

async function handlePasskeyRegister(req, res) {
  const { user } = req;
  const userID = user.id;

  if (!userID) {
    return res.status(401).json({ message: "Unauthorized" });
  }
  console.log("userId", userID);

  const { start, finish, credential } = req.body;

  try {
    if (start) {
      const createOptions = await startServerPasskeyRegistration(userID);
      return res.json({ createOptions });
    }
    if (finish) {
      await finishServerPasskeyRegistration(credential);
      return res.json({ message: "Registered Passkey" });
    }
  } catch (error) {
    return res.status(500).json(error);
  }
}

export { handlePasskeyRegister, handlePasskeyLogin };
Now, you can use it in the specific route, here we do it in the /api/passkeys/register endpoint.
import express from "express";
const router = express.Router();
import { handlePasskeyRegister, handlePasskeyLogin } from "../controllers/passkey.js";
import { checkAuth } from "../middleware/auth.js";

router.post("/passkeys/register", checkAuth, handlePasskeyRegister);

export default router;
The backend part is done, now it's time to add the 'Register Passkey' button on the frontend.
Here, the registerPasskey() function handles the passkey registration process. It first sends a request to the server to initiate the registration process and receives the response for creating a new passkey. It then uses the @github/webauthn-json library to create a new passkey credential based on the received options from the response. Finally, it sends another request to the server with the newly created credential to complete the registration process.
import {
    create,
    type CredentialCreationOptionsJSON,
} from "@github/webauthn-json";
import { useNavigate } from "react-router-dom";

import { Button } from "@/components/ui/button";
import { toast } from "sonner"


const Dashboard = () => {

    // your code..

    async function registerPasskey() {
        const createOptionsResponse = await fetch("http://localhost:5001/api/passkeys/register", {
            method: "POST",
            headers: { "Content-Type": "application/json" },
            credentials: 'include',
            body: JSON.stringify({ start: true, finish: false, credential: null }),
        });

        const { createOptions } = await createOptionsResponse.json();
        console.log("createOptions", createOptions)

        const credential = await create(
            createOptions as CredentialCreationOptionsJSON,
        );
        console.log(credential)

        const response = await fetch("http://localhost:5001/api/passkeys/register", {
            method: "POST",
            headers: { "Content-Type": "application/json" },
            credentials: "include",
            body: JSON.stringify({ start: false, finish: true, credential }),
        });
        console.log(response)

        if (response.ok) {
            toast.success("Registered passkey successfully!");
            return;
        }
    }
    return (
        <div className="p-4">
                <Button
                    onClick={() => registerPasskey()}
                    className="flex justify-center items-center space-x-2 mt-8"
                >
                    Register a new passkey
                </Button>
        </div>
    )
}

export default Dashboard;
With all the necessary things in place, you should now be able to register passkeys successfully.
Allow your users to log in with Passkey
Implementing the login flow will be very similar to the Passkey Registration flow. Inside of /express-backend/services/passkey.js create two more functions startServerPasskeyLogin() and finishServerPasskeyLogin().
async function startServerPasskeyLogin() {
  const options = await passkeyApi.login.initialize();
  return options;
}

async function finishServerPasskeyLogin(options) {
  const response = await passkeyApi.login.finalize(options);
  return response;
}
Now, similar to passkey registration create a handlePasskeyLogin() controller. Here, after the passkey login process is finished, the finishServerPasskeyLogin() returns JWT, which we decode using jose to get the User ID, verify it against the database and create a new session for the user.
async function handlePasskeyLogin(req, res) {
  const { start, finish, options } = req.body;

  try {
    if (start) {
      const loginOptions = await startServerPasskeyLogin();
      return res.json({ loginOptions });
    }
    if (finish) {
      const jwtToken = await finishServerPasskeyLogin(options);
      const userID = await getUserID(jwtToken?.token ?? "");
      console.log("userID from hanko", userID);
      const user = db.users.find((user) => user.id === userID);
      if (!user) {
        return res.status(401).json({ message: "Invalid user" });
      }
      console.log("user", user);
      const sessionId = uuidv4();
      res.cookie("sessionId", sessionId);
      return res.json({ message: " Passkey Login successful" });
    }
  } catch (error) {
    console.error(error);
    return res
      .status(500)
      .json({ message: "An error occurred during the passke login process." });
  }
}
Now you can use this controller in the api/passkeys/login route.
import express from "express";
const router = express.Router();
import { handlePasskeyRegister, handlePasskeyLogin } from "../controllers/passkey.js";
import { checkAuth } from "../middleware/auth.js";


router.post("/passkeys/register", checkAuth, handlePasskeyRegister);
router.post("/passkeys/login", handlePasskeyLogin);

export default router;
Alright, now we just need to create a 'Sign in with a Passkey' button on the frontend and use the endpoints we created above.
import { Button } from "@/components/ui/button";
import { Card, CardContent, CardDescription, CardHeader, CardTitle } from "@/components/ui/card";
import { Input } from "@/components/ui/input";
import { Label } from "@/components/ui/label";
import useLogin from "@/hooks/useLogin";
import { useState } from "react";
import { useNavigate } from "react-router-dom";
import { get } from "@github/webauthn-json";

const Login = () => {
    const navigate = useNavigate();

    const { loginUser } = useLogin();
    const [email, setEmail] = useState('');
    const [password, setPassword] = useState('');


    const handleSubmit = async (event: React.FormEvent<HTMLFormElement>) => {
        event.preventDefault();
        const success = await loginUser(email, password);
        if (success) {
            navigate('/dashboard');
        }
    };

    // the signInWithPasskey function takes care of logging in the user with passkey
    async function signInWithPasskey() {
        const createOptionsResponse = await fetch("http://localhost:5001/api/passkeys/login", {
            method: "POST",
            headers: { "Content-Type": "application/json" },
            credentials: 'include',
            body: JSON.stringify({ start: true, finish: false, credential: null }),
        });

        const { loginOptions } = await createOptionsResponse.json();

        // Open "register passkey" dialog
        const options = await get(
            loginOptions as any,
        );

        const response = await fetch("http://localhost:5001/api/passkeys/login", {
            method: "POST",
            headers: { "Content-Type": "application/json" },
            credentials: 'include',
            body: JSON.stringify({ start: false, finish: true, options }),
        });

        if (response.ok) {
            console.log("user logged in with passkey")
            navigate("/dashboard")
            return;
        }
    }
    return (
        <div className="w-screen h-screen flex items-center justify-center">
            <Card className="w-full max-w-lg">
                <CardHeader>
                    <CardTitle>Sign In</CardTitle>
                    <CardDescription className="">Choose your preferred sign in method</CardDescription>
                </CardHeader>
                <CardContent>
                    <div className="flex flex-col">
                        <form onSubmit={handleSubmit}>
                            <div className="flex flex-col gap-y-2">
                                <Label>Email</Label>
                                <Input
                                    id="email"
                                    required
                                    name="email"
                                    type="email"
                                    value={email}
                                    onChange={(e) => setEmail(e.target.value)}
                                    autoComplete="email"
                                />
                                <Label>Password</Label>
                                <Input
                                    id="password"
                                    name="password"
                                    type="password"
                                    value={password}
                                    onChange={(e) => setPassword(e.target.value)}
                                    autoComplete="current-password"
                                />
                            </div>
                            <Button type="submit" className="mt-4 w-full">Sign in with Email</Button>
                        </form>
                        <div className="relative mt-4">
                            <div className="absolute inset-0 flex items-center">
                                <span className="w-full border-t" />
                            </div>
                            <div className="relative flex justify-center text-xs uppercase">
                                <span className="bg-background px-2 text-muted-foreground">
                                    Or continue with
                                </span>
                            </div>
                        </div>
                        <Button className="mt-4 w-full" onClick={() => signInWithPasskey()}>Sign in with a Passkey</Button>
                    </div>
                </CardContent>
            </Card>
        </div>
    )
}

export default Login;
Alright, now head over to the login page and try logging in with your passkey 🚀 Check out the application repo here.
Don't hesitate to reach out to us on Discord, if you get into any issues.
